Content Marketing
Tips For Creating Your Own Images

© eberhard grossgasteiger von Pexels
Very few websites have no images at all, and there are many good reasons for this: pictures are an expected part of the modern web experience and play a huge role in creating a good first impression.
Using images effectively on your blog or site can have many positive effects. In particular, images you’ve created yourself can help to significantly boost the earnings of your affiliate website.
Here, we focus on creating your own unique pictures: covering why it’s worthwhile, offering some tips for taking better pictures and recommending some of the software you can use to improve your imagery.
Why Are Images So Important?
Aside from design considerations, there are other powerful arguments for spending time on images for your website. The right images can result in enormous added value for your visitors: if you compare and test products, for example, you can bring your readers closer to these products through good use of photography.
Many details and characteristics of a product are difficult to describe in words, but are immediately understandable and recognisable in a picture.

Plus, using images that you’ve created yourself on your website or blog creates trust with your audience. Your readers can be sure you have the product you’re writing about and that you have hands-on experience of it.
So you stand out from the crowd in the affiliate market, because unfortunately, there are still websites out there with fake test content and many more which only use the same pictures seen in every online shop. Therefore, each self-made image on your site can be seen as a unique feature, which adds value.
The right pictures can really boost your earnings by helping persuade readers to make a buying decision. Put yourself in the position of your visitors: does your willingness to buy a product increase if you feel confident that you’ve seen all of its important details?
The answer is most probably ‘yes’ – because you feel you understand the product better and feel you’re buying from a more confident, better-informed standpoint.
Finally, your own pictures can also influence the overall style of your website. If you work with the same background – maybe you always take pictures of the products you test on your stylish living-room table, for example – it makes sense to ensure this look is shared by every product image on your site, if possible.
Choosing The Right Pictures For Your Affiliate Site
The internet is full of stock photos, which can usually be licensed for relatively little outlay. These photos are mostly taken by professional photographers, who earn money from every licenced picture. So why not just use the huge libraries of stock-photo providers?
Firstly, most of the advantages already mentioned above (eg, establishing trust and standing out from the competition) are lost. Secondly, you’ll often have to compromise in your selection of images and in many cases, you won’t be able to find exactly what you’re looking for.
Product images are seldom or never featured in stock-photo services, so you’ll have no choice but to take your own shots with your camera or smartphone anyway.

But what are the ‘right’ pictures for your website or blog? Well, first and foremost, they are pictures that help your visitors. In other words, pictures which show the specific details your visitors want to see. See things from your readers’ perspective: capture images of every conceivable interesting detail and from every useful perspective.
This allows your readers to get an impression of aspects of design, quality, features, connections… every detail that may affect their buying decision.
Creating Your Own Photos
The capture of detail to add value should take priority over image quality when creating your pictures, because this is what’s of prime importance to your visitors. Of course, you should still try to ensure your images are displayed at optimum quality on your website.
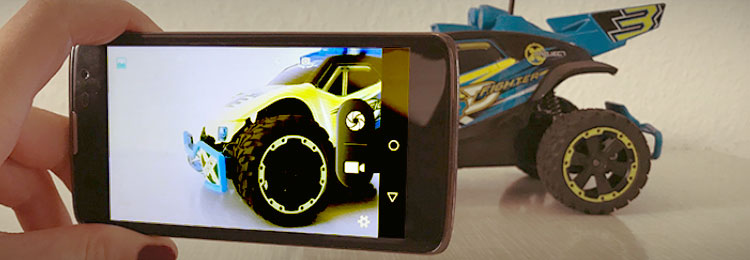
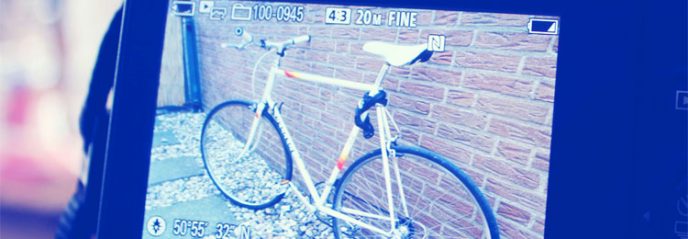
A current smartphone is sufficient in almost all cases to shoot pictures of high-enough quality; you can also edit and enhance your pictures directly on most smartphones, by using dedicated picture-editing apps. You have a digital camera and know how to use it? All the better! Here are some important guidleines for taking the ‘right’ photograph:
- The Right Light
Pay attention to lighting conditions. Sunlight makes the colours of your photos look most natural, but if you photograph in direct sunlight, it can lead to unwanted shadows and reflections. The ideal conpromise is usually a bright room without direct sunlight. Work with lamps in the house to light your room as though it’s a professional photo shoot. - The Right Setting
Remember, the background in your photo may be visible. So if you photograph in a living space, make sure it’s tidy and you’ve chosen the right aspect of the room. - Always Shoot Several Photos
Always take several photos for a subject from a single angle. This way, you can pick the best photo later and you won’t miss out on shots due to blurring or an artifact you didn’t notice while you were taking the shot. - Refrain From Using Flash
Using flash light on your photos almost always produces an unnatural look. Instead, try and set up sufficient lighting in your room, using either natural or artificial sources. - Shoot Only What Your Visitor Wants To See
Be sure to put yourself in the mindset of your readers when taking pictures. What would they most like to see? What details are overlooked in the product images on the internet? Here’s your chance to create a unique image and add value to your site. - The Right Aspect
Try to find the perfect picture, angle and perspective while you’re shooting. Of course, you can choose from a number of shots when you’re post-processing, but you’ll save yourself time and work if you keep a lookout for the best angles and setups from the outset. - Learn By Imitating
Look at well-taken professional images and try to understand what it is about these pictures that makes them stand out. Then try to implement these unique elements in your own pictures as well.If you follow these tips, you’ll be well on your way to securing material that’s as high-quality as possible. Next, it’s time to tend to the reworking of the pictures to apply the finishing touches.
How To Edit Your Pictures
To decide what kind of editing to carry out, it helps to have a reference picture on hand. Search for a professional image from a website or Google image search and compare it to your own image: this should outline any problems in your own picture, which you can then improve during post-processing.
Often, one or more of the following processing steps will be necessary:
- Consider the picture’s brightness, contrast and saturation. The classic problem many encounter is that a photo is too dark or not sharp enough. The most important parameters you can change are:
- Exposure
- Brightness
- Contrast
- Saturation
By changing these parameters, a poor-quality image can be significantly enhanced. Be warned, though, there’s a tendency to make adjustments too extreme when editing. Therefore, the reference image mentioned above is particularly valbuable, to ensure you’re on the right
- Consider the focal point of your image – are there things in your picture that are distracting from the most important details? If so, you may need to select a different image to make sure the vital details are kept in the foreground.
- Keep dimensions and filesize as small as possible. With each new picture, your website may have more visual excitement, but it will also be slower to load. And because long loading times not only annoy your visitors, but are also frowned upon by search engines, it’s important to keep your image files as small as you possibly can without sacrificing their visual quality.
Image-editing Software
If you own a Windows computer, you can carry out some of your post-processing using the current version of the free photo-editing software, Paint. If you’re working on a Mac, OS X Preview is quite comprehensive and covers the most important basics. Here are a few other recommendations for (largely free) programs, which you can use to edit your images.
Pixlr

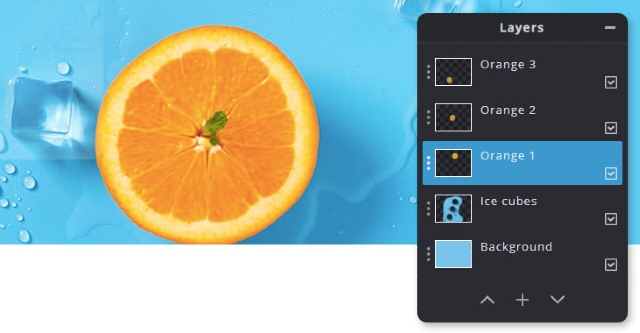
Pixlr.com is a free online service offering an impressive range of features; you can edit your pictures without having to install any sofware on your machine. Pixlr’s functionality is also available via the smartphone app Autodesk Pixlr.
GIMP

The GIMP software is also free and available for Windows, Mac and even Linux. For most tasks, image processing using Gimp is overkill, because the software is really very extensive. However, beyond basic editing tasks, a little training time is a prerequisite.
Photoshop

Photoshop is hugely powerful and is the industry-standard image-processing program. However, Photoshop is not free, and also requires you to devote some time to learning it.
The latest version of Photoshop CC can be rented at www.adobe.com, with various possible licencing options. Currently, the price for a month is around 12 euros; however, you could shop around for a licence of the slightly older Photoshop Elements package, which is much cheaper and costs around 50–to-60 euros in various online shops.
